Follow these instructions to make your own homemade hovercraft! With just a few items you probably already have laying around the house, in under a half-hour you could have a desktop-sized hovercraft zipping all over the place! It's great for a science project, a classroom demonstration, or a rainy day.
Watch this video to learn how to build and fly your own hovercraft:
Step 1: What You'll Need
You need just a few common items to create your hovercraft:
-
Sports Bottle Cap
-
Balloon
-
Old CD
-
Superglue

Step 2: Attach the Sports Bottle Cap
The first thing to do once you have all your supplies is to attach the sports bottle cap to the old CD. Lay down a thick bead of superglue around the inside edge of the sports bottle cap. Be sure to make this a continuous line of glue so no air can escape the seal.

Once the glue has been laid down, align the sports bottle cap with the center of the CD and firmly press down. Be sure to center the bottle cap as much as possible for optimal airflow. Also, make sure the bottle cap is in the down (closed) position.

Allow the glue plenty of time to dry. Check your bottle of superglue for the specific time, but don't rush it. It may take as long as 20 minutes for some superglues to harden completely.
Step 3: Attach the Balloon
Once the sports bottle cap is securely attached to the CD, it's time to add the power source - the balloon!
Inflate the balloon to the desired size. A larger balloon will of course have more force and last longer than a smaller balloon. When you've got it as big as you want it, stretch the balloon's mouthpiece over the sports bottle cap. Get a good grip - you don't want any air to leak out.

Let go of the balloon. Did anything happen? No? Good! Onto the next (and final) step!
Step 4: Lift Off!
There's only one more thing to do - take off! While holding the base of the sports bottle cap (never hold it by the CD when attaching/detatching the balloon), lift up on the mouthpiece. This will allow air to flow out of the balloon and under the CD, creating a cushion of air under the craft. The air pressure is strong enough to float the weight of the hovercraft!

Look at it go! You can attempt to control the hovercraft by lightly tapping the balloon in the direction you wish the craft to move.
When your balloon runs out of air, simply detatch it from the sports bottle cap (make sure to hold it by the base of the cap!) refil it, and re-attach it! Remember to move the sports bottle cap to the down (closed) position before re-attaching the fresh balloon.
For even more fun, make a second hovercraft and race them with your friends. Build an obstacle course and try to navigate it before you run out of air. Decorate the CD with permenant markers, stickers and lightweight foam - just be careful not to weigh it down too much!

Have fun building and flying your own homemade hovercrafts! Tag us on Facebook or Twitter with your creations!
Check back again for even more do-it-yourself science experiments from Mobile Ed's Building Up STEAM series.
If you like DIY experiments like these, you should see the kinds of spectacular demonstrations we bring to schools with our live school assembly presentations. Take a look at STEAM Museum, The Magic of Science, Physics is Fun, Forces and Motion and Crime Scene Science, each full of interactive demonstrations that kids love.

If you enjoyed making your Homemade Hovercraft, try our other Building Up STEAM activities and experiments!
 |
|
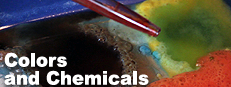
If you have curious little ones running around the house, or are looking for a fun activity for your lower elementary kids, this is a great way to spend an afternoon they'll ask to do again and again. It's a simple "baking soda and vinegar" experiment, but with an artistic twist! |
 |
|
Learn how you can run a sharpened pencil all the way through a plastic bag filled with water without spilling a drop. All you need are some sharpened pencils, a plastic bag filled with water, and our secret technique! |
 |
|
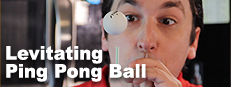
Perform the impossible when you make an ordinary ping pong ball float in mid-air! Learn how to do this super cool science feat in just a few minutes. |
 |
|
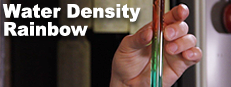
Visually learn about water density with this easy-to-do experiment with beautiful results. By "stacking" sugar water of varying densities in a test tube you can create a stunning display of science in action. |
 |
|
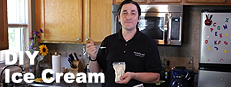
With just a few ingredients and our technique, you'll be scooping up your own frosty treats in no time. Science never tasted so good! |
|
|
|
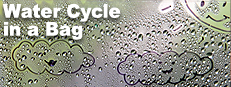
Our most popular experiment! Do your kids ask you why it rains? Or maybe how clouds happen? Spend an afternoon teaching them with this easy to do science experiment where you and your kids will make a water cycle in a bag! |
About Mobile Ed Productions:
Mobile Ed Productions, Inc. has been in business since 1979, producing educational, entertaining school assemblies and hands-on workshops. Based out of Michigan, the company creates, designs, markets and distributes innovative ways to make learning fun in the form of live presentations and interactive exhibits.