Students may be anxious to learn about all-things outer space after the many recent reports of successful space missions, including one flight carrying well-known actor William Shatner, and hands-on activities are the best way to grab your students' attention and keep them engaged.
It’s proven over and over that hands-on learning, also known as kinesthetic learning, makes a significant impact on students. This type of learning requires students to use their sense of touch to learn and make connections. Kinesthetic activities encourage students to work as a team and solve problems through trial and error. This is also the most preferred way for students to learn.
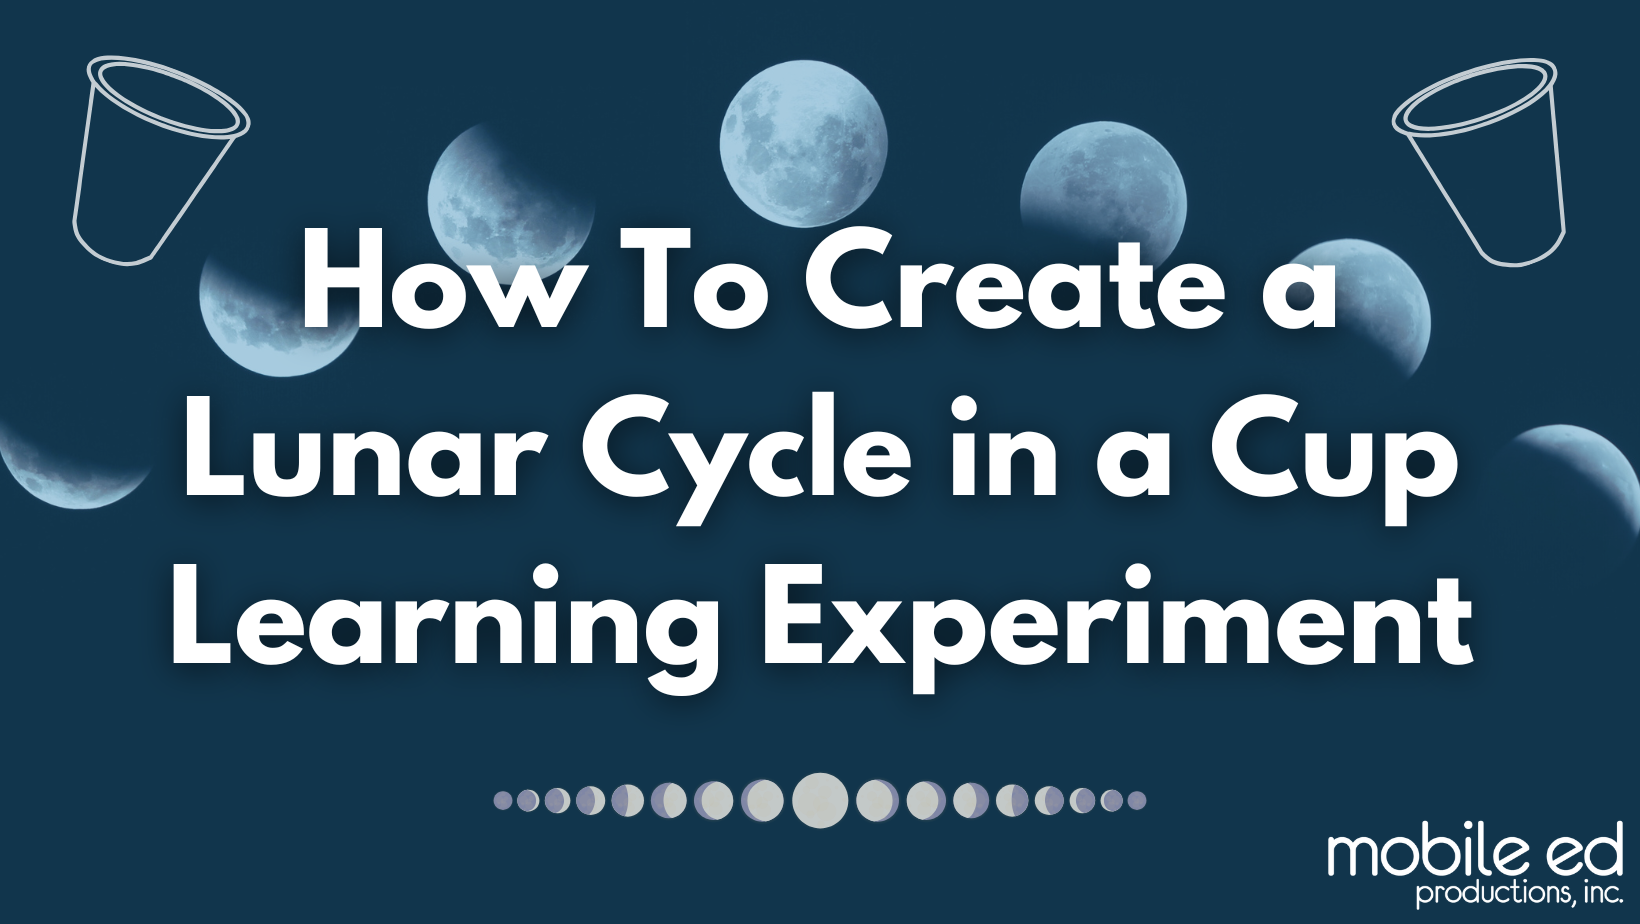
The educators at Mobile Ed Productions have seen many experiments used to teach their students about the lunar phases, but this project from the Happy Tot Shelf blog sticks out for its simplicity, effectiveness, and longevity. This project can be created by every student, or use this project as a class tool to pass around to your students or present it to your class.
What you’ll need:
-
-
- 2 clear plastic cups
- Black piece of paper
- Permanent marker
- 1-inch diameter yellow paper circle
- Glue and/or tape
-
What to do:
- Cut a rectangle from your black construction paper that fits the inside diameter of our plastic cup. You will want to measure the height and diameter of the cup before you cut your rectangle.
- Glue or tape your yellow paper circle somewhere on the black construction paper.
- Place the construction paper inside the cup with the yellow circle facing outward. Glue/tape the paper to the cup.
- Place the plastic cup with the black construction paper into the other plastic cup.
- With your permanent marker, write “Full Moon” on the outer plastic cup under the yellow paper circle. Make sure you leave room for all 8 lunar phases.
- Rotate the cup through all 8 lunar phases (new Moon, waxing crescent, first quarter, waxing gibbous, full Moon, waning gibbous, third quarter and waning crescent) and use your marker to darken part of the “moon” (yellow paper circle) to resemble each position in the lunar cycle. Label each drawing.
- Turn the inside cup back and forth to see the moon change shapes and move through the lunar cycle!
TIP: Visit NASA’s webpage about Earth’s moon to see the moon move through different phases of the lunar cycle.
For another interactive lunar phase activity, check out Generations Genius’ lunar phase experiment using a ball, pencil, and a lamp.
If your students are ready to expand their knowledge of space through more interactive experiences, we invite you to learn more about Mobile Ed Productions’ well-known Sky Dome Planetarium. Interested in space or not, your students will thoroughly enjoy our Sky Dome Planetarium assembly, which offers your students a fun, interactive, and up-close experience of the Lunar Phases and beyond. Other topics in this assembly include: our solar system, planets, Greek mythological characters, the Milky Way galaxy, and Earth's seasons. This assembly is available both in-person and virtually. Contact us to learn more about this out-of-this-world experience and view its availability.
Blog inspired by: Happy Tot Shelf