Here's a tasty activity perfect for these last few weeks of summer. Watch this video to learn how to make your own delicious homemade ice cream! With just a few ingredients and our technique, you'll be scooping up your own frosty treats in no time.
Watch this video to learn how to make ice cream!
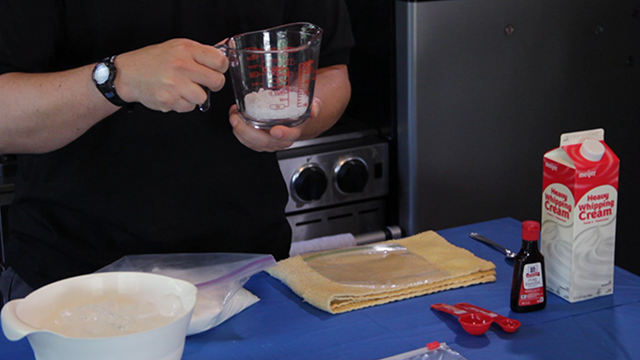
Step 1: What You'll Need
You need just a few ingredients to make your ice cream:
-
Ice cubes (at least two trays worth)
-
Measuring cup
- 1/2 cup of Rock Salt or Ice Cream Salt
-
1/2 tea spoon of Vanilla Extract
-
1 cup of Heavy Whipping Cream or Half-and-Half
- 2 tablespoons of Sugar
- A gallon size zip-lock bag
- A sandwich size zip-lock bag
Step 2: Add the Ice and Salt
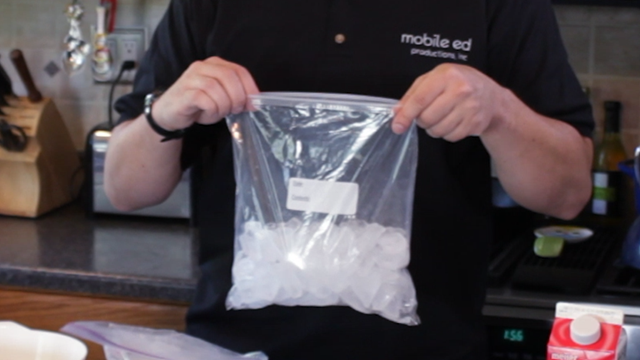
The first thing to do once you have your ingredients ready is add your ice to the large gallon-size plastic bag. Fill the bag about half-full with ice. It will take at least two standard ice cube trays worth of ice. If you're planning on running this experiment a few times, you might want to purchase a bag of ice.
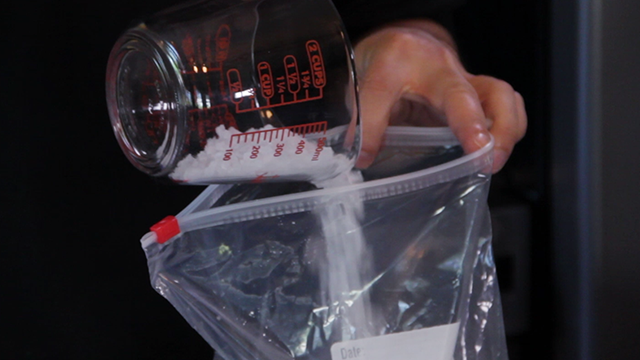
Once the ice is in your gallon-size bag, go ahead and pour in the 1/2 cup of rock salt or ice cream salt. It might seem weird to add the salt to the ice, like you're going to melt the ice, but this is really the secret to getting your ice cream to solidify. More on that later!
Step 3: Mix Up The Cream
Now that your measuring cup is empty, re-fill it with a full cup of heavy whipping cream or half-and-half.
Once you've got a full cup of cream, measure out a half teaspoon of vanilla extract and add that to the measuring cup as well.
Next, pour two tablespoons of sugar into the measuring cup. When everything has been added, thoroughly mix the ingredients together.
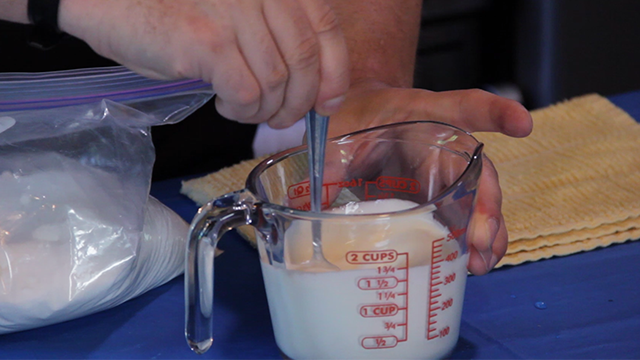
After everything has been completely blended together, pour your mixture into the smaller sandwich bag.
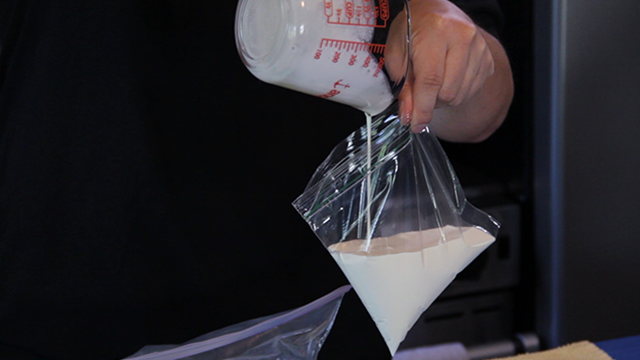
Make sure you seal the bag up nice and tight so absolutely nothing leaks out!
Step 4: Ice the Cream!
Now that everything is all mixed together, it's time to turn that cream mixture...into ICE cream!
Take the smaller sandwich sized bag and place it inside the large bag of ice. Then seal the large bag tight.
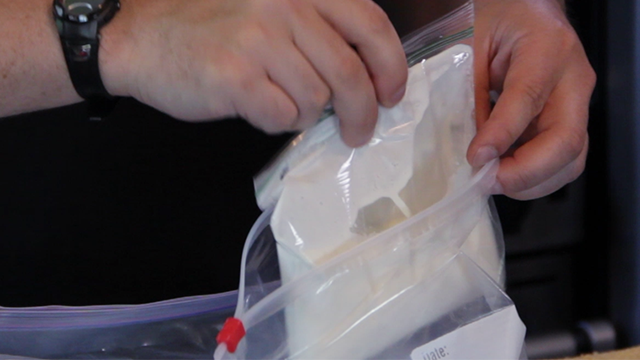
Now, shake it up! Shake the big bag around for 5-6 minutes so the ice goes all over the smaller bag.
You may want to use a dish towel or wear gloves for this step as the ice will get even colder! Why is this? Well, when water is freezing, it gives off heat, but when ice melts, it actually cools down. Water freezing gives off energy while an ice cube melting uses energy. As the salt slightly melts the ice, the remaining ice actually gets even colder. This is what allows the ice to get cold enough in order to solidify the cream.
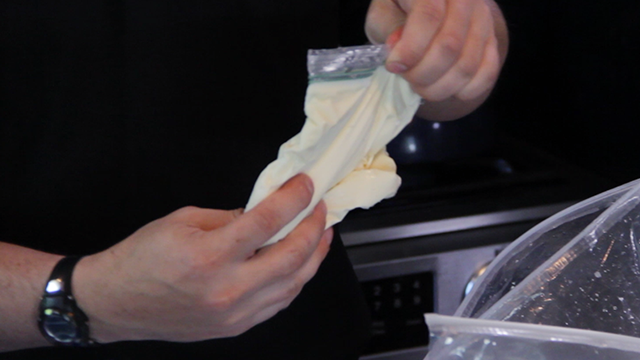
Once your ice cream has set up, you're ready to eat! Grab a spoon and dig in!
Now that you know a basic vanilla ice cream recipe, add something extra to it! Try sprinkles, food coloring, chocolate chips, or maybe even peanut butter! Experiment with different ingredients to re-create your favorite ice cream flavors right at home.
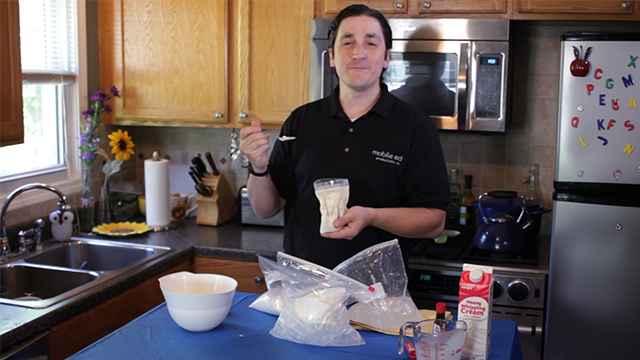
Check back again for even more do-it-yourself science experiments from Mobile Ed's Building Up STEAM series.
If you like DIY experiments like these, you should see the kinds of spectacular demonstrations we bring to schools with our live school assembly presentations. Take a look at STEAM Museum, The Magic of Science, Physics is Fun, Forces and Motion and Crime Scene Science, each full of interactive demonstrations that kids love.
If you enjoyed making your Homemade Ice Cream, try our other Building Up STEAM activities and experiments!
About Mobile Ed Productions:
Mobile Ed Productions, Inc. has been in business since 1979, producing educational, entertaining school assemblies and hands-on workshops. Based out of Michigan, the company creates, designs, markets and distributes innovative ways to make learning fun in the form of live presentations and interactive exhibits.


